Documents - Upload, Edit, Move, Share, Delete, Email, & More!
Modified on: Thu, 28 May, 2026 at 12:58 PM
From the applicant’s Documents tab, users can manage all documents related to the applicant.
- To access an applicant’s documents:
- Go to the Documents tab,
- Then the top displays the Documents grid.
- The Add button drop-down - Includes ACORD Form, Upload, Folder, and Merge PDFs options.
- The Type and Document Type columns - Have various icons that indicate the document type, such as Document, Folder, Form, Certificate Master etc…
- Policy # column - documents that have been associated with a specific policy will display the policy # here.
- Share column - When a checkbox is available, the document can be shared in applicant’s Client Center account.
- Actions - Every document type has an Actions dropdown. The choices in the dropdown vary by document type.
- Search box – locate any saved document quickly. Simply enter the document name or a policy #, or click the filter icon for more options.
- Search Funnel Icon – click the icon for additional search filters including Document type, created by and shared documents.
- Storage - Saving documents in EZLynx requires storage space. Located at the top right corner above. This area indicates the agency’s available remaining storage space.
 |  |
EZTip: Every agency is given some complimentary storage. Additional storage can be purchased for an annual fee. Contact support@ezlynx.com for pricing and adding storage.
Each document in an applicant's Documents tab has an Actions menu on the right. The menu options vary depending on the type of document.

Actions options:
- Open Editor: To edit the document (in the EZLynx Editor), and re-save it.
- Email: To quickly email the document to one or more people.
- Mail: To quickly send a document via Postal Mail.
- Text: To quickly send a document via Text Message.
- Move To: For organizing documents into folders.
- A folder is created by clicking the Add button at the top right of the page, then selecting Folder.
- Share: To share the document to the applicant's Client Center.
- Properties: Used to rename a document or associate it with a specific policy.
- Delete: To delete the document.
- Preview: To preview the document
- Download: To download the document to the computer.
- Copy: To make an identical copy of an existing document.
- The copy is listed on the documents tab with the word "Copy" in the document name.
- Click Actions, and select Properties to rename the copy.
Uploading Document(s)
Uploading relevant documents and images to any EZLynx applicant is easy.

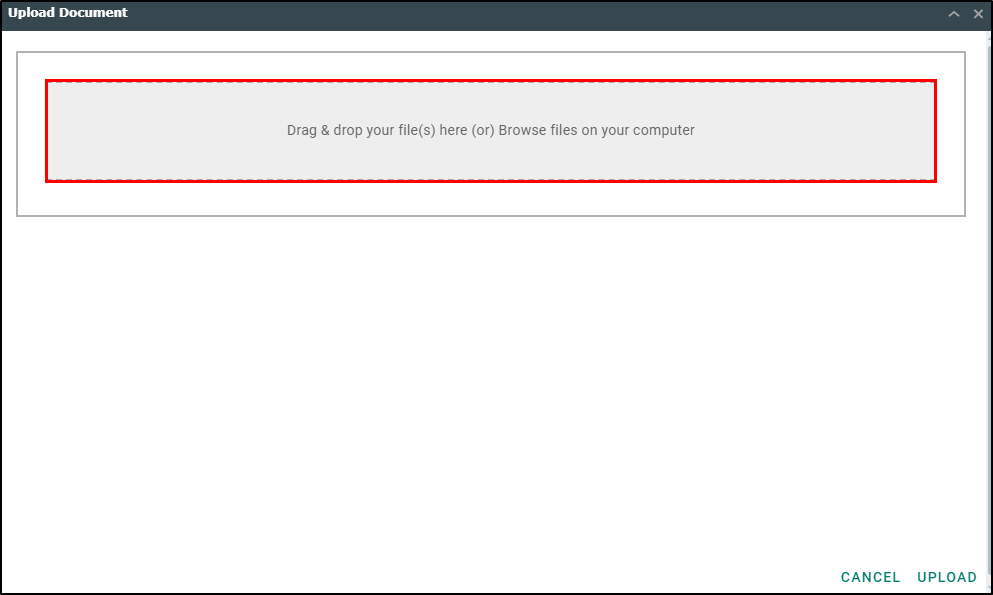
3. After adding documents, you have the option to rename or associate with a policy. When you are ready, click Upload. This will add the uploaded documents to the customer's Documents tab.

EZTip: Trouble uploading is usually because a file is too large 50MB. Save a large document as separate, smaller files before uploading.
Add ACORD Forms
The Add Form including non-policy related ACORD® forms, like payment receipts, fax covers, memos, invoices, etc.
EZTip: To create ACORD® forms prefilled with policy information, use the Policies grid instead of this ADD option.
To use the ACORD form library:
- Search box and Form filters – used to locate a specific form quickly.
- Document Name and Policy Association - Optionally, name the document and associate it with a specific policy.
- Select a form and click Add Document. Form will be opened in the EZLynx Editor. Complete form and Save.
To add or change a signature on an ACORD form:
- Click the pencil icon in upper right of the Editor.
- Select an Existing Signature from the dropdown.
- Or, if the name is not in the existing signature dropdown, simply type the name in the Enter New Signature box and click Generate Signature. This new signature is now available as an existing signature for future use.
- Click Set Signature.
EZTip: If your ACORD form fonts are very small, click the FIT button in the lower right to fix font size.
Create Folder(s) to stay Organized!
To create a folder to use to organize documents:
- From the Add button - select Folder, name the folder and click Save. The folder is added to the documents grid.
- Locate the document to be moved to the folder.
- At the document’s Actions menu, select Move To.
- Check the desired folder’s box, and click Move.
- Back at the documents grid, click the folder line to view the documents within the folder.
Bulk Actions
Sometimes you need to take the same action on multiple documents. To do this, check the boxes next to the documents to bring up the Actions button. Selecting the button, will provide you with the bulk actions menu which contains the following actions:
- Move to - This allows you to move multiple documents into or out of a folder making sure your customer's documents tab stays organized.
- Share - This option is only available if you have our Client Center product. If you do, you can easily and securely share documents with your clients by sharing them to the Client Center Customer portal which your customers can access via your agency's website. Check out our Client Center - Sharing Documents Securely article to learn more!
- Delete - This option allows you to delete multiple documents all at once. Please note, this action is not reversible, so use it wisely.

Move Document to/from Folder(s)
To move a document to or from a Folder, click the Actions button next to that document, and choose Move To. Remember you can also move multiple documents at once using the bulk Actions button we talked about earlier in this article.

Users can select the folder to move the documents to. Click Move, and the selected documents are relocated to their new folder.

After moving the document(s) needed, you can locate them in the applicant's Documents tab. Then (optionally), you can filter the Document Type for easier sorting & quick access. You can search for a specific Document inside the "Folder" icon, and click on the Document Name to open it.

EZLynx tracks this activity from the System Log tab under the applicant’s Activity page. Optionally, users can select folders to move, if desired.

Merge PDFs for Easy Emailing
It may be helpful to combine multiple PDFs, such as ACORD forms, into a single file to send to a carrier or customer. Please note: The PDF documents may no longer be editable inside EZLynx once merged. We recommend making all updates to the documents separately and then merging them together.
Basic steps:
- Go to applicant's Documents tab, and click Add on right, select Merge PDFs
- Select as many documents as desired and hit Save.
Delete Documents
Organizing customer documents can be a tedious task, so to help streamline user productivity we have made some fantastic updates. Users can now perform bulk actions with documents! With this new functionality, we also updated the process to share documents.
Users now have the option to select multiple documents and delete them at once. A confirm choice window pops up to ensure nothing is removed accidentally. Folders cannot be deleted if any documents are stored within it. This prevents users from removing documents without intending to delete them. To remove a folder, users should first move or delete the documents stored within it.

Did you find it helpful? Yes No
Send feedback