Agency Directory
Modified on: Thu, 10 Sep, 2026 at 6:35 PM
The Directory provides all users with quick access to agency contacts. Agency contacts may include carrier reps, lead generating vendors, financial institutions, etc. For agencies with branches in their EZLynx setup, the Directory currently does NOT transfer from the main office to any branches.
TABLE OF CONTENTS | Watch our video and follow along!  |
 | Did you know? - You can click on the images/gifs in our articles to make them bigger. |
Accessing the Directory
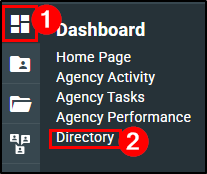
Navigate to the Directory by hovering over the Dashboard icon and choosing Directory. Your entries appear in a list with every entry name as a clickable hyperlink.
Open an entry in read-only view
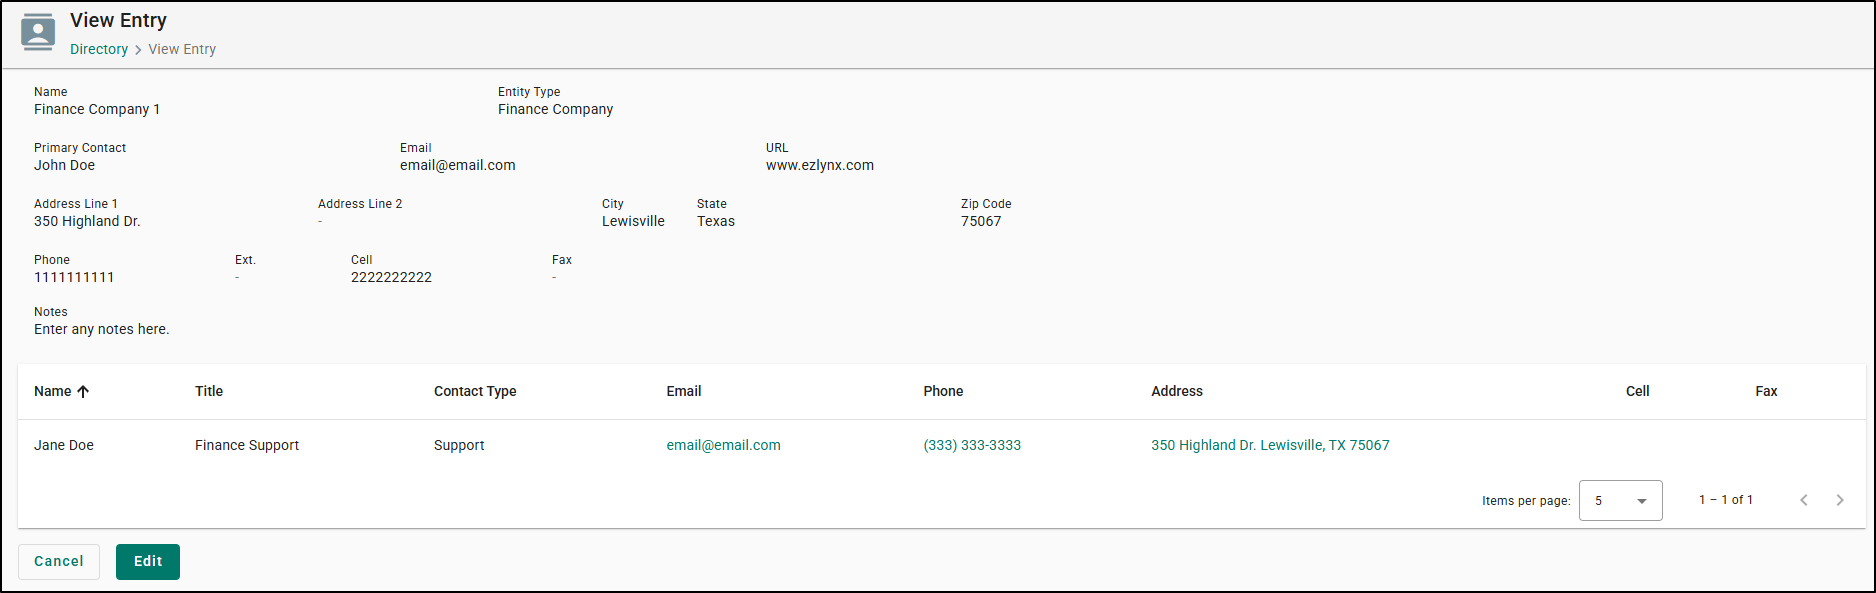
Click any entry name in the list. EZLynx opens a read-only view of that entry showing its full details — contact information, address, phone numbers, notes, and associated contacts — with nothing editable. Look up what you need and navigate back; because nothing was changed, nothing needs to be saved.
Move into edit mode
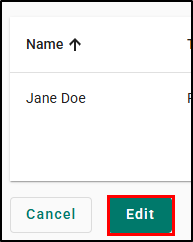
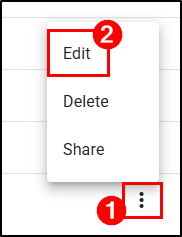
When you do need to make a change, select the Edit button at the bottom of the read-only page. You can also jump straight to editing from the Directory list by selecting the three-dot menu at the end of an entry's row and choosing Edit.
 |  |
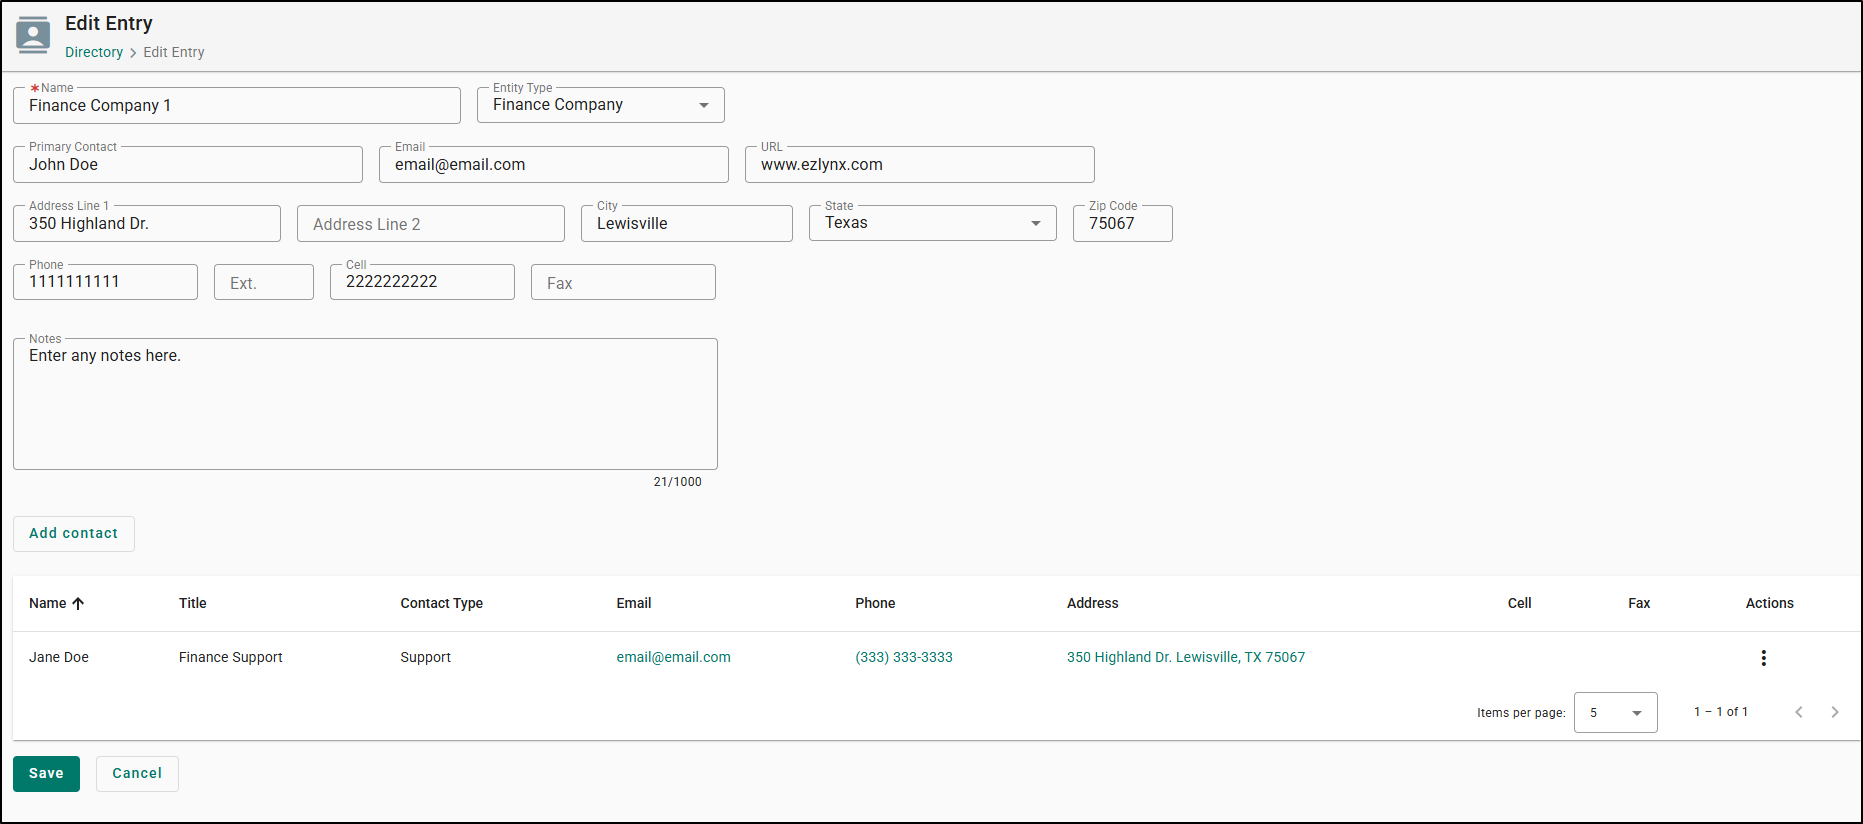
Edit Entry page
The Edit Entry page presents fields in a logical top-to-bottom order:
- Row 1: Name, Entity Type
- Row 2: Primary Contact, Email, URL
- Row 3: Address Line 1, Address Line 2, City, State, Postal Code
- Row 4: Phone, Ext., Cell, Fax
Below those fields you'll find a Notes text box, an Add contact button, and the contacts table listing Name, Title, Contact Type, Email, Phone, and Address for every contact attached to the entry.
Adding Contacts
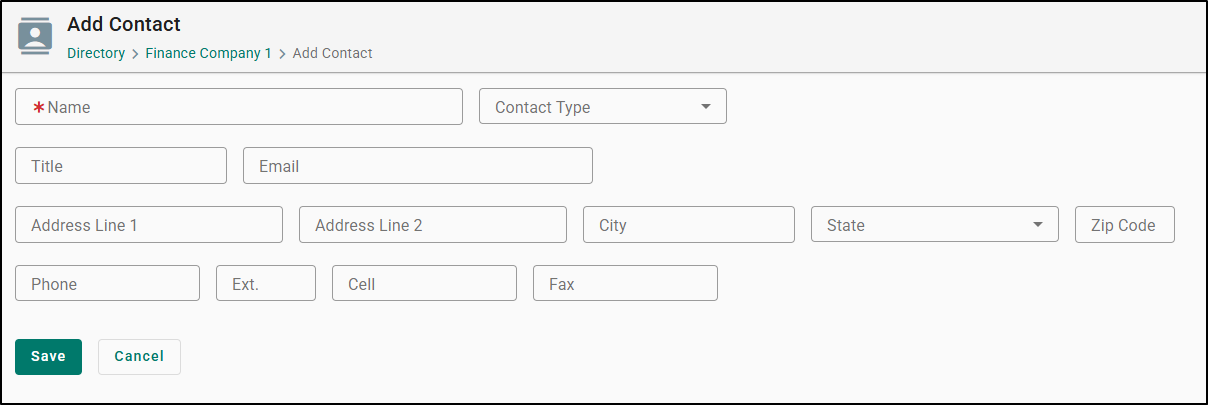
Select Add contact from the Edit Entry page to open the dedicated Add Contact page, organized the same way:
- Row 1: Name, Contact Type
- Row 2: Title, Email
- Row 3: Address Line 1, Address Line 2, City, State, Postal Code
- Row 4: Cell, Fax
Select Save to add the contact to the entry, or Cancel to discard it and return without changes.
Set how many entries you see
At the bottom of the Directory list, the Items per page dropdown offers 25, 50, and 100. The default is 25. Choose an option and the list immediately redisplays with that number of entries per page.
Before 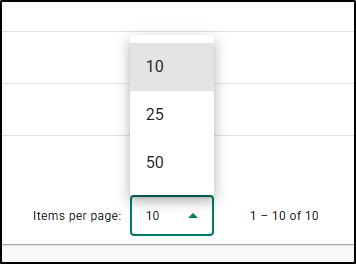 | After 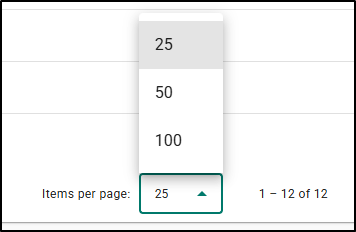 |
Return to where you left off
Whatever you do next — save an edit, view an entry and back out, add a contact, or delete an entry — EZLynx returns you to the same page of the Directory you were working on. Page 5 stays page 5.
Practical Applications
Here are 3 ways your agency can make the most out of the Directory page:
- Safer daily lookups for your service team: Your CSR is on the phone with a client who needs a claims number for their carrier. She clicks the carrier's name in the Directory, reads the number off the read-only view, and moves on — no edit form open, no chance of a stray keystroke changing a phone number that the entire agency relies on.
- Faster cleanup of a bloated vendor and carrier list: Your agency principal is auditing a Directory that's grown to several hundred entries after a book roll-in. He sets Items per page to 100, works down the list correcting entity types and outdated addresses, and after each save lands right back on the page he was auditing.
- Building out multi-contact carrier relationships: Your commercial lines manager works with a wholesaler who has separate underwriting, billing, and claims contacts. She opens the entry, clicks Add contact, and records each person with their own title, contact type, email, and phone on the dedicated Add Contact page. The contacts table on the Edit Entry page then gives the whole team one clear view of who to call for what — no more digging through notes fields.
We hope this article was helpful in learning about the Directory page, how it can help your agency, and how to use it. If this article was helpful, please let us know by answering the question below. Check out our related articles on the right to learn more about EZLynx.
Did you find it helpful? Yes No
Send feedback