Beta: Label Management Workflow
Modified on: Mon, 2 Feb, 2026 at 2:17 PM
We’re excited to announce that with this release, we have begun a Beta for a new Label Management Workflow! With this new workflow, you will be able to organize your agency’s data more flexibly and intelligently through user-defined labels across core entities. This workflow introduces a powerful new way to categorize applicants in a manner that aligns with your agency’s unique processes.
Labels help bring greater clarity, consistency, and efficiency to everyday workflows, while unlocking new opportunities for segmentation, personalized engagement, and operational optimization. This foundational addition enhances the overall experience and sets the stage for even more dynamic and customizable data management capabilities moving forward.
This new workflow is currently in a closed Beta so we are not taking any Beta applications for this feature at this time. Look for our future releases for updates on this feature's status, and check out our EZLynx Product Team Partner form for current open Beta features.
TABLE OF CONTENTS |
 | Did you know? - You can click on the images in our articles to zoom in. |
What's in it for me?
- A more flexible organization system — Create labels that reflect your agency’s terminology, workflows, and priorities.
- Stronger collaboration — Shared labels help teams quickly understand account context and stay aligned across servicing, sales, and support.
- Smarter targeting & workflows — Easily filter, segment, and activate data for renewals, or internal processes.
- More efficient operations — Reduce time spent maintaining external lists or spreadsheets by centralizing data categorization within the platform.
- Ready for automation — Labels can now be used as triggers and filters for workflows, allowing tasks and follow-ups to run more seamlessly.
Accessing the Feature
Admin Users can will be able to access the new Labels Management page to create and manage labels that match your agency’s structure, ensuring consistency and a shared understanding across teams.
Non-Admin Users will be able to use labels for Activity Notes and Applicants but will not be able to access the new Labels Management page to create and manage labels.
The new Labels Management page has replaced the previous Label Management tab in the Activity Settings page. This new centralized Labels Management is where admins can create, edit, and organize labels used across multiple entities.
As an Admin, to access the new Label Management page: 1. Hover over the Settings icon on the left navigation bar. 2. Choose Manage Labels. This will take you to the new Label Management page. | 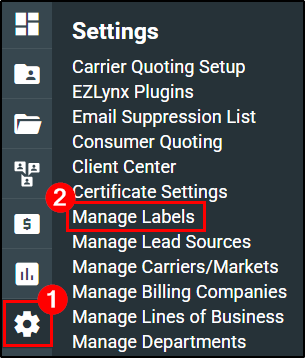 |
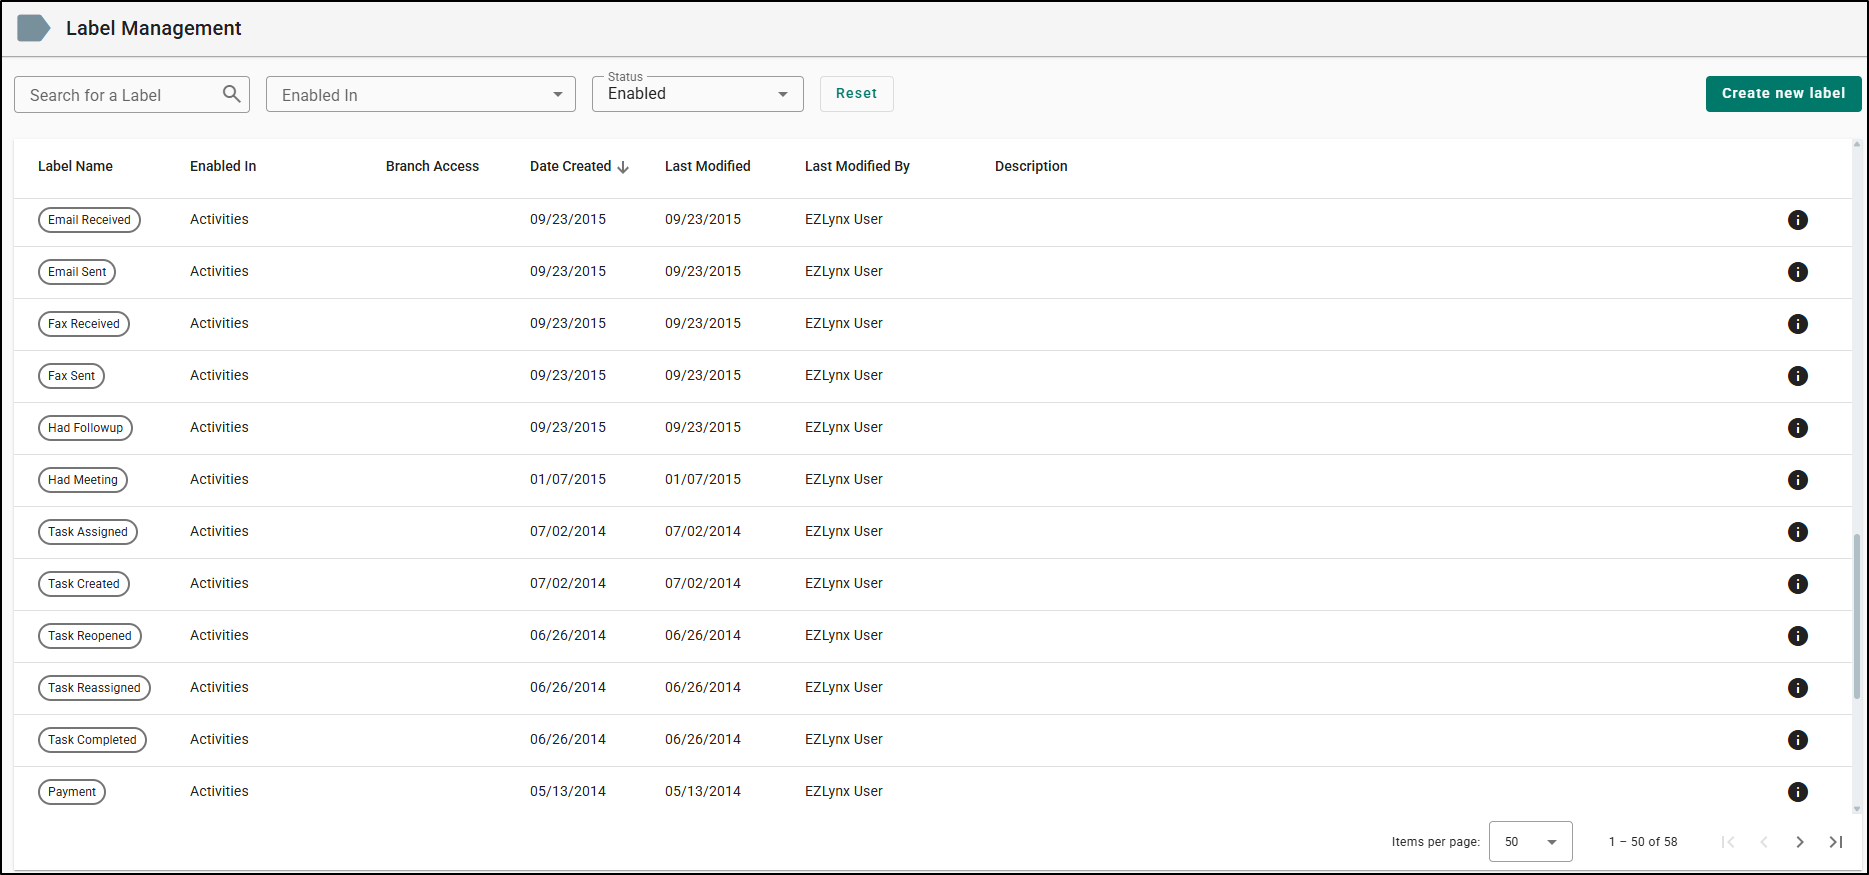
When accessing the page for the first time, you will not see an empty page. Both the system default labels and any custom labels you created for your agency are still available. You can identify them by sorting the Last Modified By column, where they will display the EZLynx User.
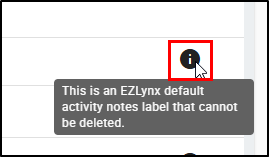
You can also tell by hovering your mouse over the information icon, where the following message will display: "This is an EZLynx default activity notes label that cannot be deleted."
Create Labels
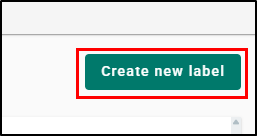
Admins will be able to both create and manage labels on the Label Management page. As an Admin, to create a label, select the Create new label button. This will take you to the Create new Label page.
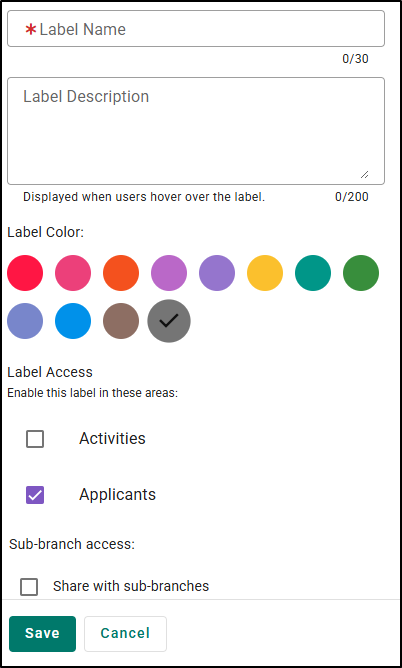
 | 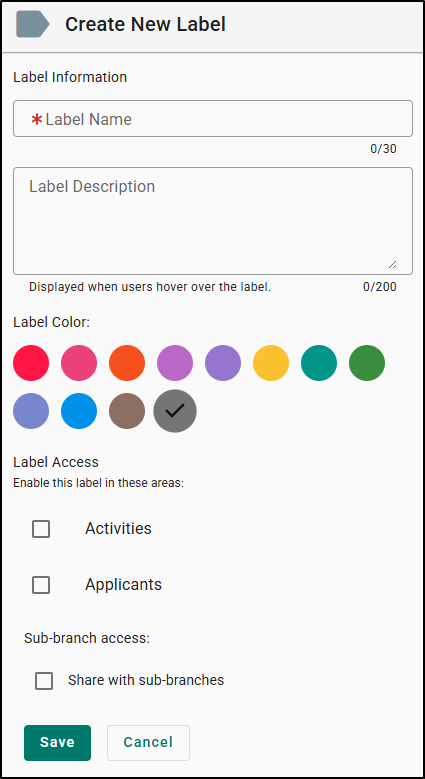 |
Let's take a look at all the options available when creating a new label. Please note, that required fields are notated with a red asterisk.
| Option | Notes | Image |
|---|---|---|
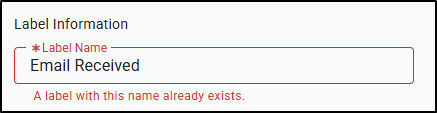
| Label Name |
|   |
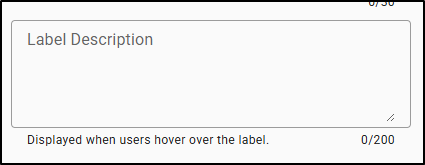
| Label Description |
|   |
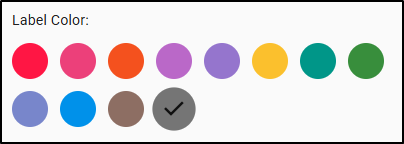
| Label Color |
|   |
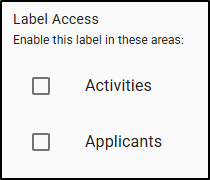
| Label Access |
|    |
| Sub-Branch Access |
|   |
Important considerations when choosing Label Access
- When an access is enabled, users can apply the label to records within that access. For example, if only Activities access was enabled on the label, users will only be able to apply the label to Activity Notes. To be able to also apply the label to Applicants, the Applicants access would need to be enabled too.
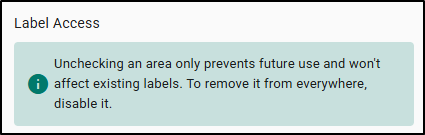
- If you remove access to a particular entity (Applicants or Activities), the label will still appear on existing records where it was previously applied, but users will no longer be able to apply it to records moving forward nor will they be able to remove it from records it was previously applied to.
- Admins will always see the label in the management screen, along with the list of entities it is enabled for.
- If you re-enable access later, users will be able to use the label again.
Important considerations when Sharing a Label
- Sharing only works "downstream" meaning that only parent agencies can share "down" to their sub-branches. Sub-branches cannot share labels "up" to the parent agencies or to other sub-branches.
- Sub-branch users can apply the shared label in the accessible entities the label admin enabled.
- Sub-branch users cannot edit or delete the label they were granted access to.
- When an admin chooses to share a label with sub-branches, sharing may be restricted if at least one sub-branch already has a label with the same name. In that case, an error message will indicate that the label name already exists in another branch. In this case, the parent agency has two options:
- Rename the label so its unique to the sub-branches
- Save the label without sharing to sub-branches as long as the name is unique to the parent agency
- If the Parent agency removes sharing from a sub-branch:
- Where ever the label is already applied to records, sub-branch users will still be able to view, and filter where it was previously used.
- Sub-branch users will no longer be able to apply the label to new records after sharing is removed.
- In the Manage Labels page, sub-branch users they will see an info message saying, “This label was assigned by parent branch.”
Once you have inputted all the information needed to create a label, select the Save button at the bottom and you will be taken back to the Label Management page.
Managing Labels
On the Label Management Screen, you will have access to all your labels along with filtering options.
- You can search for labels by typing in the name of the label in the Search for a Label search bar.
- You can filter labels by which entities they are enabled in using the Enabled In drop-down and checking the entities in question.
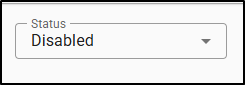
- Finally, you can filter labels by their status suing the Status dropdown and checking either Enabled or Disabled .

You will also see a Labels table that includes the following columns:

| Column Header | Purpose |
|---|---|
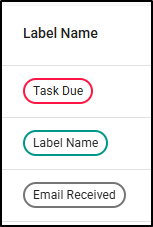
| Label Name | Displayed as a chip. This is exactly how the label will display when applied on a record. |
| Enabled In | Shows the entities where the label is currently enabled and available for users to apply. |
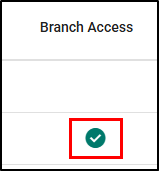
| Branch Access | If there is a checkmark, this means the label is shared with sub-branches. |
| Date Created | Indicates when the label was originally created. |
| Last Modified | Shows the date the label was last updated. |
| Last Modified By | Displays who made the last update. System Default labels will show EZLynx User. |
| Description | A helpful summary that displays when hovering over the label when applied to an Applicant |
There are also two actions available for labels you create.
|  |
 | 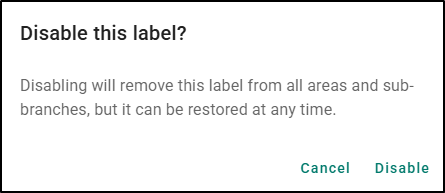 |
If you disable a label accidently, it can be restored at any time. To restore a label:
1. Filter the Label table to look for the Status = Disabled.
2. Select the Restore icon (Clock with an arrow). This will open a confirmation window.
3. Select Restore to finalize restoring the label. This will restore the label back to all the records it was previously applied to and become visible to use again.
 |  |  |
Applying Labels
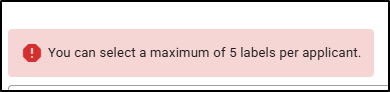
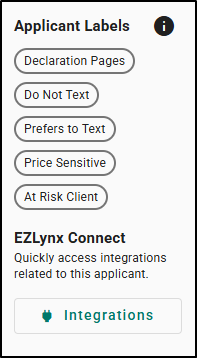
Applying labels to Activity Notes works the same as before. This Beta adds a new option which is to apply labels to Applicants. You can assign up to 5 labels total to an applicant. Up to 5 labels will be shown on the Applicant sidebar, with the most recently added displayed first. Hovering over a label shows its description after a 1-second delay.
 |  |  |
There are two places to add and manage Applicant Labels:
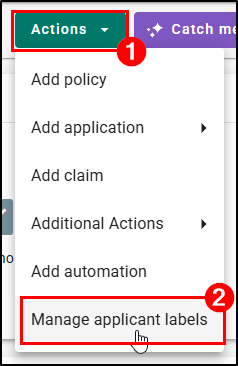
- On the Applicant Overview page, you can easily add and manage labels by clicking on Actions > Manage Applicant Labels. Please note, when adding labels via the Applicant Details page, it’s important to remember to click save at the bottom of the page to save the applicant labels to the record.
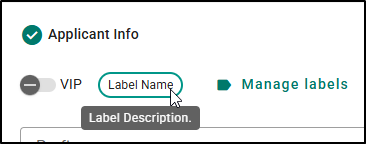
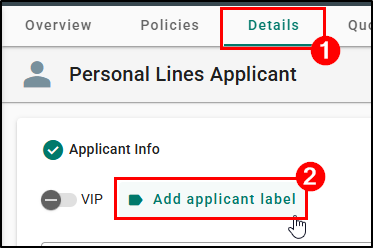
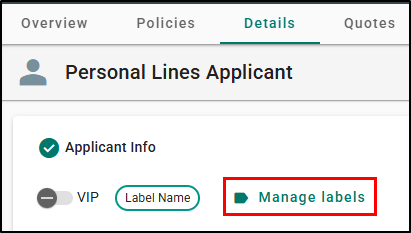
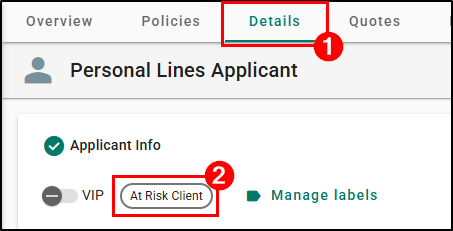
2. On Applicant Details page for an existing customer and on the Create New Applicant page for both Personal and Commercial Lines accounts, you can easily add and manage labels through the new Add Applicant Label/Manage Applicant Label option located next to the VIP selection.
 |  |
Using either of the options above will open the Manage labels side panel, where you can search, filter, and apply labels efficiently.
| 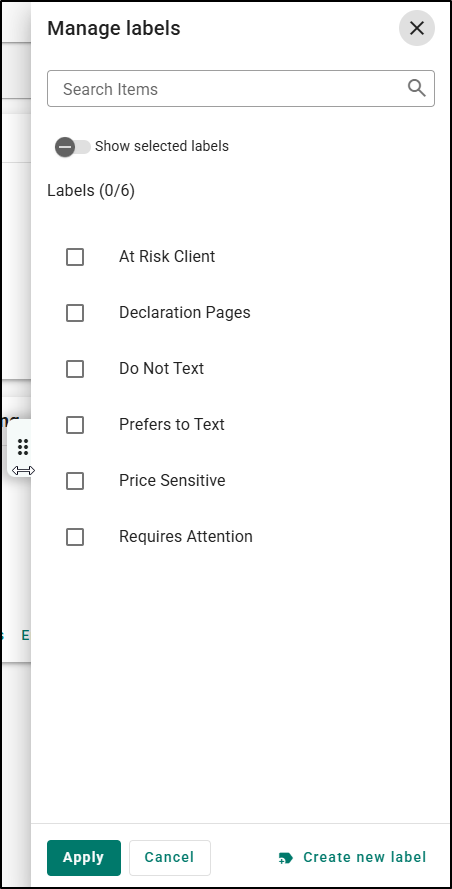 |
|  |
Once you have finished applying labels to your applicant, make sure to select the Save button at the bottom of the page to finish save your work. If you do not, select the Save button the label will not finish applying to the applicant.

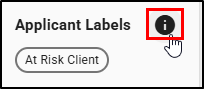
After the labels are saved, the Applicant Labels section appears in the Applicant Sidebar under Applicant/Business Info and is visible on the Applicant Details page.
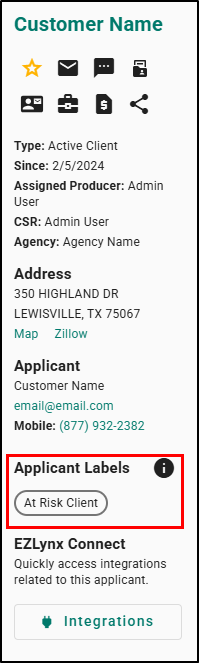 |  |
Since labels on the sidebar cannot be edited, a tooltip informs the user where to go: “To manage labels, go to Applicant Details page or the Actions menu.”
 |  |
System Log
A new System Log entry will be created whenever labels are added, removed, enabled, or disabled. This functionality is available for both Personal and Commercial applicant types.
The System log format is as follows:
Modify Account Details – [Month Day, Year], [HH:MM:SS AM/PM] – [User Name]
[Activity Notes/Applicant] label “[Label Name]” was [Added/Removed/Enabled/Disabled] by [User Name].

Please note, the system log for Enabled and Disabled labels will only appear on applicant records that used to have the label assigned previously.
Automation: Label-Based Triggers & Filters
As part of this release, automation capabilities have been expanded to support label-driven workflows. These updates ensure greater precision and flexibility when creating automated actions based on both Activity Note Labels and Applicant Labels.
Updated Activity Notes Label Trigger
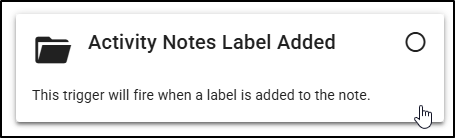
The existing "Label Added" trigger has been renamed to "Activity Notes Label Added" within the Management System section of the Workflow Editor.
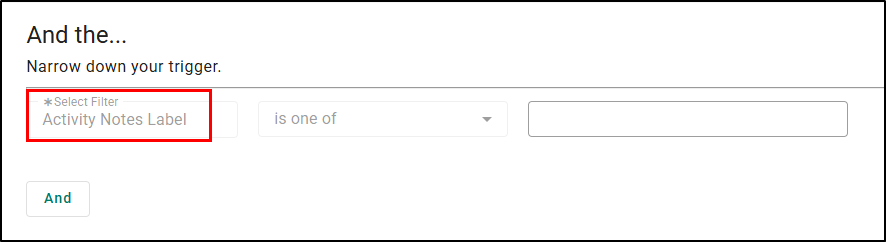
Additionally, the preselected filter associated with this trigger has been updated from “Label” to “Activity Notes Label.”
This updated label terminology will also appear in the following areas:
- Workflow Editor — Workflow Sequencing Preview
- Dashboard — Top 5 Workflows
- Workflows table — Trigger column
- Workflow History — Trigger column
New Applicant Label Added Trigger
A new Applicant Label Added trigger is now available under the Management System section of the Workflow Editor.
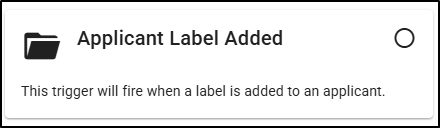
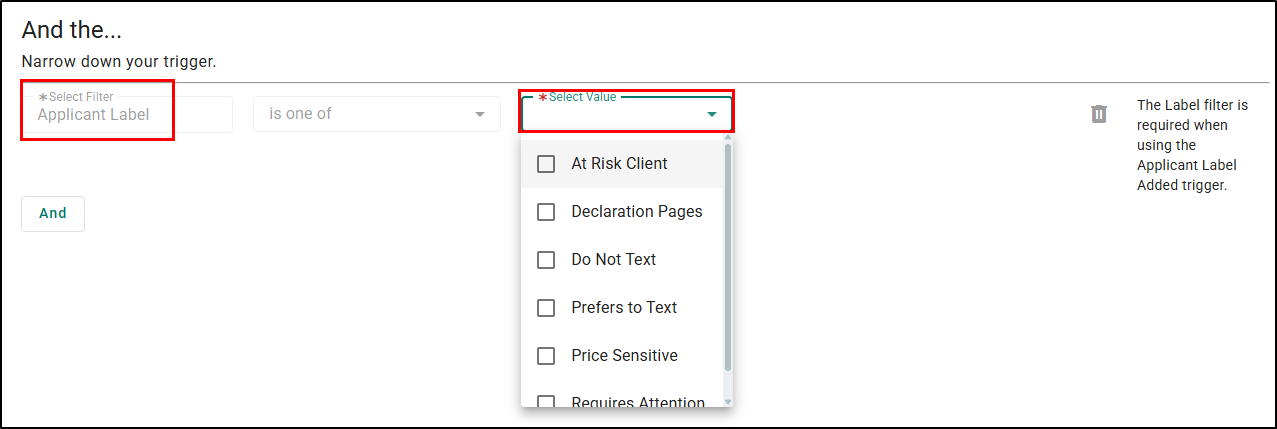
This trigger includes a required, preselected filter Applicant Label. You must select a label value from your agency’s Applicant Labels list to proceed. This filter cannot be removed. Once the trigger is configured, you can continue building the workflow using the existing steps—such as adding filters, defining actions, and completing setup—just as you do today.
The new trigger will appear in:
- Workflow Editor — Workflow Sequencing Preview
- Dashboard — Top 5 Workflows
- Workflows table — Trigger column
- Workflow History — Trigger column
New Applicant Label Filters
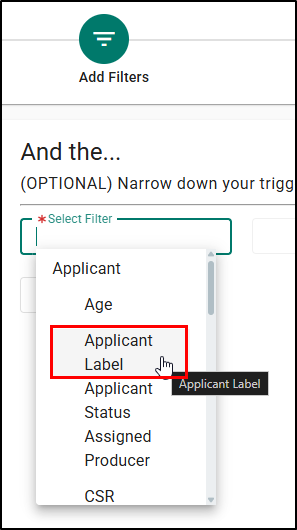
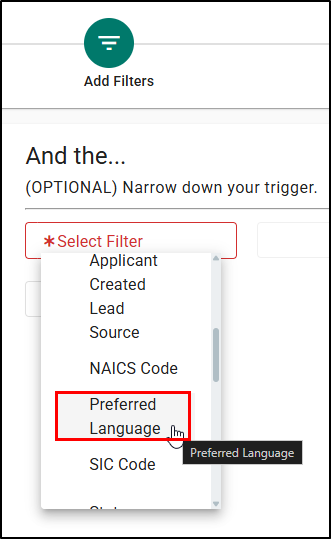
There are new filters when creating bot ha new workflow or editing an existing workflow. Within the Add Filters step of the Workflow Editor, two new filter options are now available under Select Filter:
- Applicant Label
- Preferred Language
 |  |
Practical Applications
Track Key Workflow Statuses
Use labels like “Needs Review”, “Renewal Priority”, or “Cross-Sell Opportunity” to quickly identify important accounts and manage workloads more effectively.
Enhance Marketing & Campaign Segmentation
Tag records with labels such as “Seasonal Business”, “Multi-Line Prospect”, or “Renewing Soon” for more relevant and impactful outreach.
Improve Team Collaboration
Labels like “VIP Account”, “New Lead”, or “Underwriting Follow-Up” provide instant shared context, helping teams work together smoothly and consistently across the customer lifecycle.
We hope you are excited for this Beta feature and look forward to our future releases for updates. Please let us know if this article was helpful in learning about the new feature by answering the question below. Check out our related articles on the right-side of the page to learn more about EZLynx!
Did you find it helpful? Yes No
Send feedback