Managing Your Email Campaigns
Modified on: Thu, 15 Jan, 2026 at 6:55 PM
The Campaigns page provides a single streamlined location to efficiently manage, modify, and track email campaigns. You can find and manage your agency's Sent Campaigns, Scheduled Campaigns, Email Campaign Drafts and Email Campaign Templates.
Using filters to quickly find the campaign you are looking for, Agency Admins can bulk delete drafts and templates ensuring only relevant materials remain available to your agency. Admins can also edit and delete templates created by other users within their organization. Basic Users have the access to edit and delete drafts and templates they've created.
TABLE OF CONTENTS | Check out our video if you want to watch and follow along!  |
 | Did you know? - You can click on the images in our articles to make them bigger! |
Accessing the Campaigns Page
To access the Campaigns page:
1. Hover over the Communication Center icon (text bubbles).
2. Under the Email Campaigns section, choose Campaigns. This will take you to the Campaigns page.
 |  |
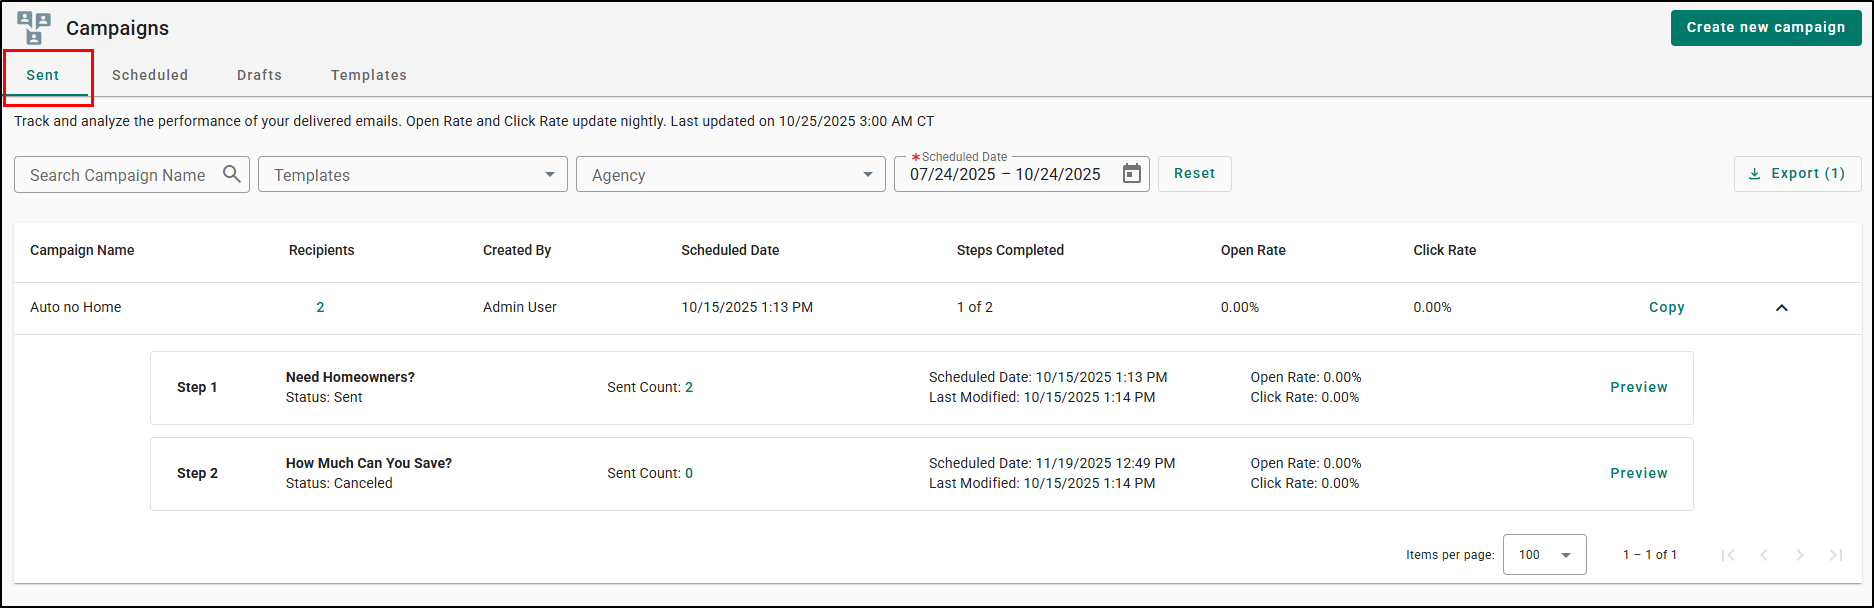
Sent
The Sent page is where you can track and analyze the performance of your delivered campaigns. On this page you can find the following column headers:
- Campaign Name
- Recipients for the past campaign
- Created by
- Scheduled Date
- Steps Completed
- Open Rate
- Click Rate
You can also find a Copy action allowing you to make a copy of the past campaign and start the Create Email Campaign Workflow.
Filters
To make it easier to find and analyze campaigns, you can filter the Sent Campaigns to locate certain campaigns and refine the data based on your specific needs. On the Sent page, you can filter by the following:
- Search Campaign Name - A free-text search to quickly find specific campaigns.
- Templates - A dropdown to filter campaigns by email template.
- Agency - A dropdown to filter campaigns based on agency.
- Scheduled Date - View campaigns scheduled within a specific timeframe.
- By default on the Sent page, the Scheduled Date filter is set to the past 3 months up to today.

Campaign Preview
You can preview your sent campaign in a drawer panel without leaving the page, making it quick and easy to review the content.
1. Expand the line item next to the Campaign in question.
2. Select Preview. This will open a Preview drawer panel where you can see who sent the email, the Subject Line, and the Email Body.
 |  |
Recipient List Preview
Need to see who received your email? A recipient preview panel lets you check the full list of recipients without extra clicks or loading new pages.
1. Select the number under the Recipients column. This will open a Recipients drawer panel where you can find the Recipient Name, Email Address, and the Status if they received the email or not.
 |  |
Campaign Metrics
Users can quickly view the campaign's performance at the campaign level and the step level.

Export Functionality
If you need to export the data from the Sent page, you can export the data based on the date range the page is filtered by.
1. Use the Scheduled Date field to select the range you want to export for. The date range is inclusive so it will include the final date you select in the search.
2. Select the Export button and confirm you want to export the data. This will allow you to download a CSV file to your computer.

Scheduled
The Scheduled page is where you can monitor and manage your scheduled email campaigns. On this page you can find the following column headers:
- Campaign Name
- Recipients for the campaign
- Created by
- Scheduled Date
- Steps Completed
- Open Rate
- Click Rate

Filters
To make it easier to find and manage your campaigns, you can filter the Scheduled Campaigns to locate certain campaigns and refine the data based on your specific needs. On the Scheduled page, you can filter by the following:
- Search Campaign Name - A free-text search to quickly find specific campaigns.
- Templates - A dropdown to filter campaigns by email template.
- Agency - A dropdown to filter campaigns based on agency.
- Scheduled Date - View campaigns scheduled within a specific timeframe.
- By default on the Scheduled page, the Scheduled Date filter is set to the last 3 months from today, with a maximum selection limit.

Campaign Preview
You can preview your scheduled campaigns in a drawer panel without leaving the page, making it quick and easy to review the content.
1. Expand the line item next to the Campaign in question.
2. Select Preview. This will open a Preview drawer panel where you can see who sent the email, the Subject Line, and the Email Body.
| |
Actions: Admin vs. Basic
The actions available to you on this page depends on if you are an Agency Admin or a Basic User. While Basic users can only edit/cancel campaigns they created, Admins can edit any campaign as well as Bulk Cancel scheduled Campaigns.
Basic User Cancel Campaign Example  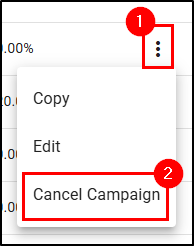 | Admin Only Bulk Cancel Campaign Example 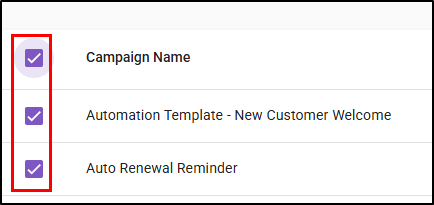  |
Editing a scheduled campaign
To edit a scheduled campaign:
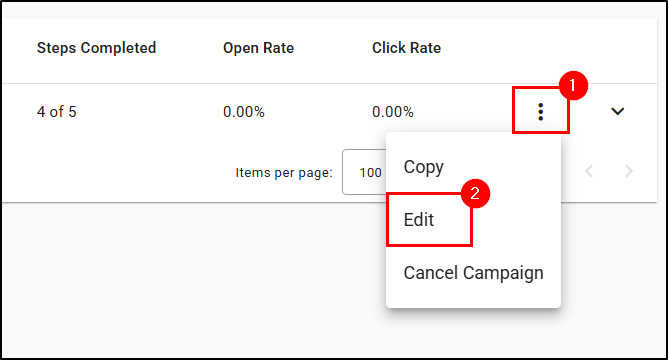
1. Select the Actions icon to open the Actions menu.
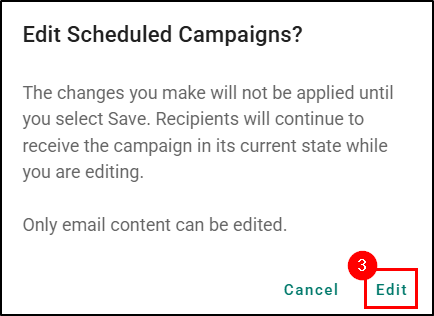
2. Choose Edit. This will open the Edit Scheduled Campaigns? window.
3. Select Edit to confirm you want to edit this campaign. This will open the Edit Campaign page.
4. Once you have completed your edits, select the Save Campaign button.
 |  |
 | Please Note - You cannot edit a step that has already been sent. |
Can Edit  | Cannot Edit  |
Canceling a Step in a Campaign
To cancel a step in a scheduled campaign:
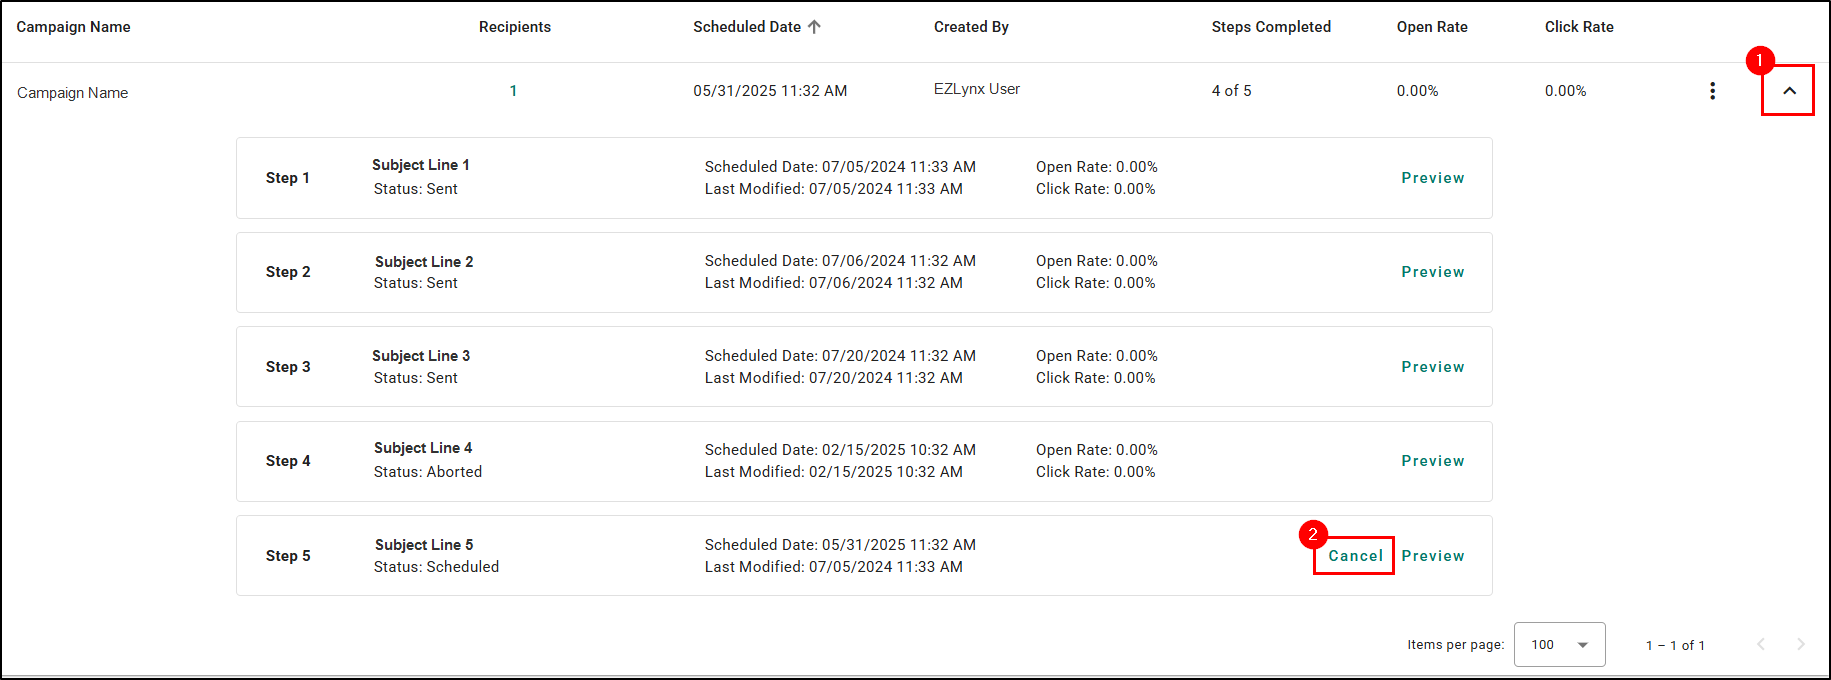
1. Expand the campaigns so the details are visible.
2. Select Cancel next to the step. This will open the Cancel campaign Step? window.
3. Select Yes to confirm you want to cancel that step.
 |  |
Canceling a Scheduled Campaign
To schedule an entire campaign:
1. Select the Actions icon to open the Actions menu.
2. Choose Cancel Campaign. This will open the Cancel campaign? window.
3. Select Yes to confirm you want to cancel the entire campaign. Please note, this is not reversible.
 |  |
Bulk Cancelation - Admin Only
If you are an Admin, you will be able to bulk cancel email campaigns. To do this:
1. Check the boxes next to the campaigns you want to cancel.
2. Select Cancel Campaigns. This will open the Bulk cancel campaigns? window.

3. Select Yes to confirm you want to cancel the selected campaigns.

Drafts
The Draft page is where you can review and finalize your email campaigns before scheduling. On this page you can find the following column headers:
- Campaign Name
- Created by
- Last Modified - By default this is sorted in descending order meaning this most recently modified will be at the top of the list.

Filters
To make it easier to find and analyze campaigns, you can filter the Draft page to locate certain drafts and refine the data based on your specific needs. On the Draft page, you can filter by the following:
- Search Campaign Name - A free-text search to quickly find specific campaigns.
- Created By - A dropdown filter to filter by who created the draft.
- Last Modified - View draft modified within a specific timeframe.

Actions: Admin vs. Basic
The actions available to you on this page depends on if you are an Agency Admin or a Basic User. While Basic users can only edit/delete drafts they created, Admins can edit/delete any draft as well as Bulk delete drafts.
Basic User Action Example 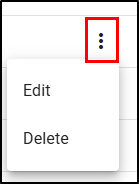 | Admin Only Bulk Delete Draft Example  |
Editing a Draft
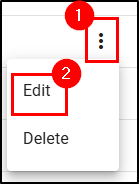
To edit a draft:
1. Select the Actions icon to open the Actions menu.
2. Choose Edit. This will take you to the Edit Campaign workflow where you can continue working on your email campaign draft.
 |  |
Deleting a Draft
To delete a draft:
1. Select the Actions icon (vertical ellipses).
2. Choose Delete. This will open a confirmation window.
3. Select Delete to confirm you want to delete the draft.
 |  |
Bulk Delete - Admins Only
If you are an Admin, you will be able to bulk delete drafts. To do this:
1. Check the boxes next to the drafts you want to delete.
2. Select Delete Drafts. This will open the confirmation window.
3. Select Delete to confirm you want to bulk delete the drafts.
 |   |
Templates
The Templates page is where you can create and manage your custom email campaign templates, or get started quickly with an EZLynx design. On this page you can find the following column headers:
- Template Name
- Campaign Steps
- Created by
- Date Created
- Last Modified
- Campaign Uses - Campaign Uses reflect the last 6 months.

Filters
To make it easier to find and analyze campaigns, you can filter the Templates page to locate certain templates and refine the data based on your specific needs. On the Templates page, you can filter by the following:
- Search Template Name - A free-text search to quickly find specific templates.
- Created By - A dropdown filter to filter by who created the template.
- Show EZLynx templates - A toggle to quickly show/hide the EZLynx provided templates. By default this is toggled to show the EZLynx templates.

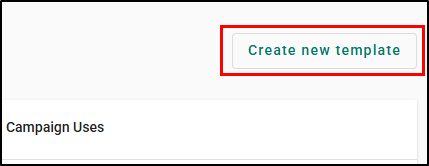
Create Template Workflow
To create a new email campaign template, select the Create new template button where you will find a similar page to the first step in the Create Email Campaign Workflow.
Check out our How to Create Bulk/Drip Email Campaigns for details on how to use the features on this page. Also check out our Email Marketing Best Practices article for tips on how to create an effective campaign.
 |  |
Campaign Preview
You can preview your template in a drawer panel without leaving the page, making it quick and easy to review the content.
1. Expand the line item next to the Campaign in question.
2. Select Preview. This will open a Preview drawer panel where you can see From, the Subject Line, and the Email Body.
| |
Actions: Admin vs. Basic
The actions available to you on this page depends on if you are an Agency Admin or a Basic User. While Basic users can only edit/delete templates they created, Admins can edit/delete any draft as well as Bulk delete templates.
Basic User Action Example  | Admin Only Bulk Delete Draft Example  |
| Attention! - You cannot delete the EZLynx provided templates. You can only hide them using the Show EZLynx templates toggle. |
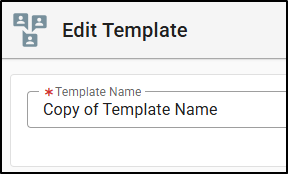
Copy Template
To copy a template:
1. Select the Actions icon to open the Actions menu.
2. Choose Copy. This will make a copy of the template and start the Edit Template Workflow.
 |  |
Edit Template
To edit a template:
1. Select the Actions icon to open the Actions menu.
2. Choose Edit. This will start the Edit Template Workflow.
 |  |
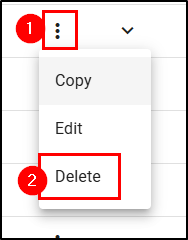
Delete Template
To delete a template:
1. Select the Actions icon to open the Actions menu.
2. Choose Delete. This will open a confirmation window.
3. Select Delete to confirm.
 |  |
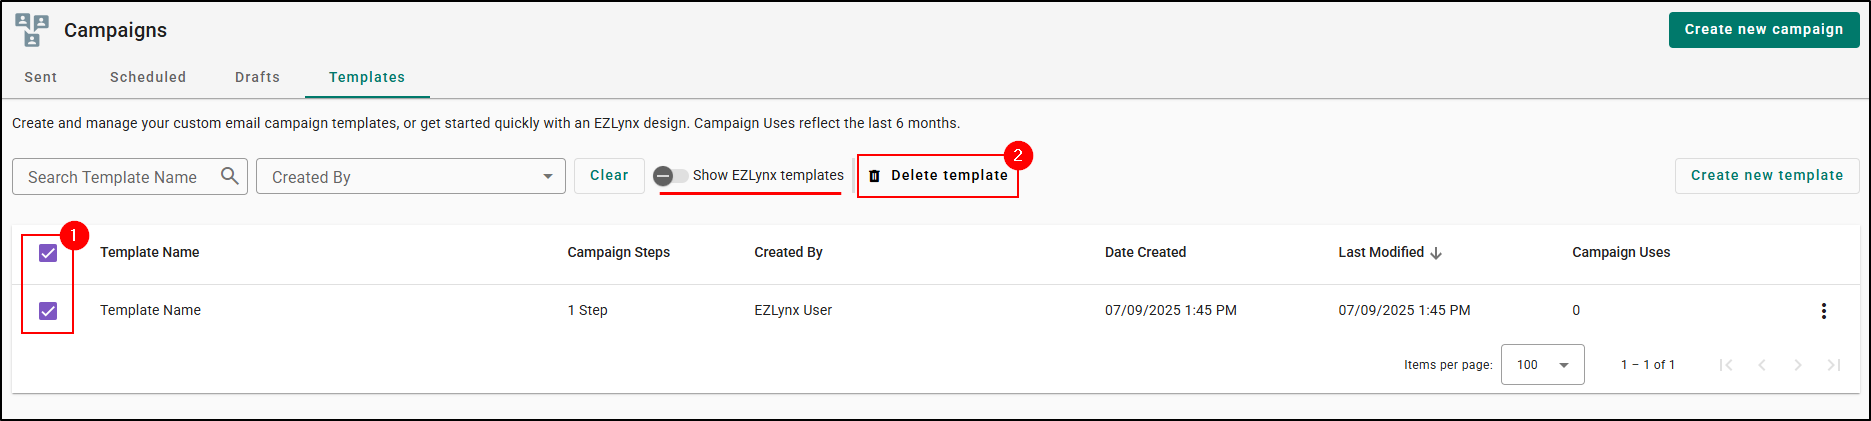
Bulk Delete Templates - Admin Only
Admins can delete multiple Templates at once, saving time. To do this:
1. Check the boxes next to the drafts you want to delete.
2. Select Delete Drafts. This will open the confirmation window.
3. Select Delete to confirm you want to bulk delete the drafts.
When Deleting in Bulk, if one or more templates are associated with Automation Center, we inform you which Automation Center template(s) you need to review.
All selected Templates are connected Workflows  | Some selected Templates are connected to Workflows  |
We hope this tour article was helpful in learning how to efficiently manage your Campaigns with the Campaigns page. Please let us know if this article was helpful by answering the question below. Check out our related articles on the right-side of the page to learn more about EZLynx!
Did you find it helpful? Yes No
Send feedback